For the last three years, I had a pack of nigari and a wooden tofu press sitting in my kitchen cupboard. Unfortunately, the duo never saw any action as I didn’t get round to making tofu.
Now that we’ve moved across the country and most of our belongings—and 95 percent of my kitchen equipment!—are in storage, I found myself aching to make tofu. So on a cool, fallish Thursday morning with “Putting on the Ritz” blasting away (I just rediscovered my 80’s collection on the computer!), I set about making tofu for the first time, no nigari, no tofu press.
First things first, I surveyed my ingredients and my equipment.
I decided I didn’t want to make soymilk from scratch (read: my food processor is in storage). I ended up buying a half-gallon bottle of fresh soymilk from the Asian store. This was my choice because it was made by a local company and it contained only three ingredients: water, non-GMO soybeans and soy lecithin (now if only I could find a brand that uses organic soybeans). Compare this to the widely available brand, Silk, which has calcium carbonate, natural flavors, carageenan, etc., etc. I wanted as few additives as possible.

Nigari (a natural coagulant of magnesium chloride made by evaporating seawater) is the coagulant of choice in Japan, while the Chinese prefer gypsum (calcium sulfate). Both are sold specifically for making tofu and are available at specialty stores (here are some online sources). I went with what was more readily available. In the spirit of experimentation, I used three different coagulants: lemon juice, lime juice and Epsom salt.
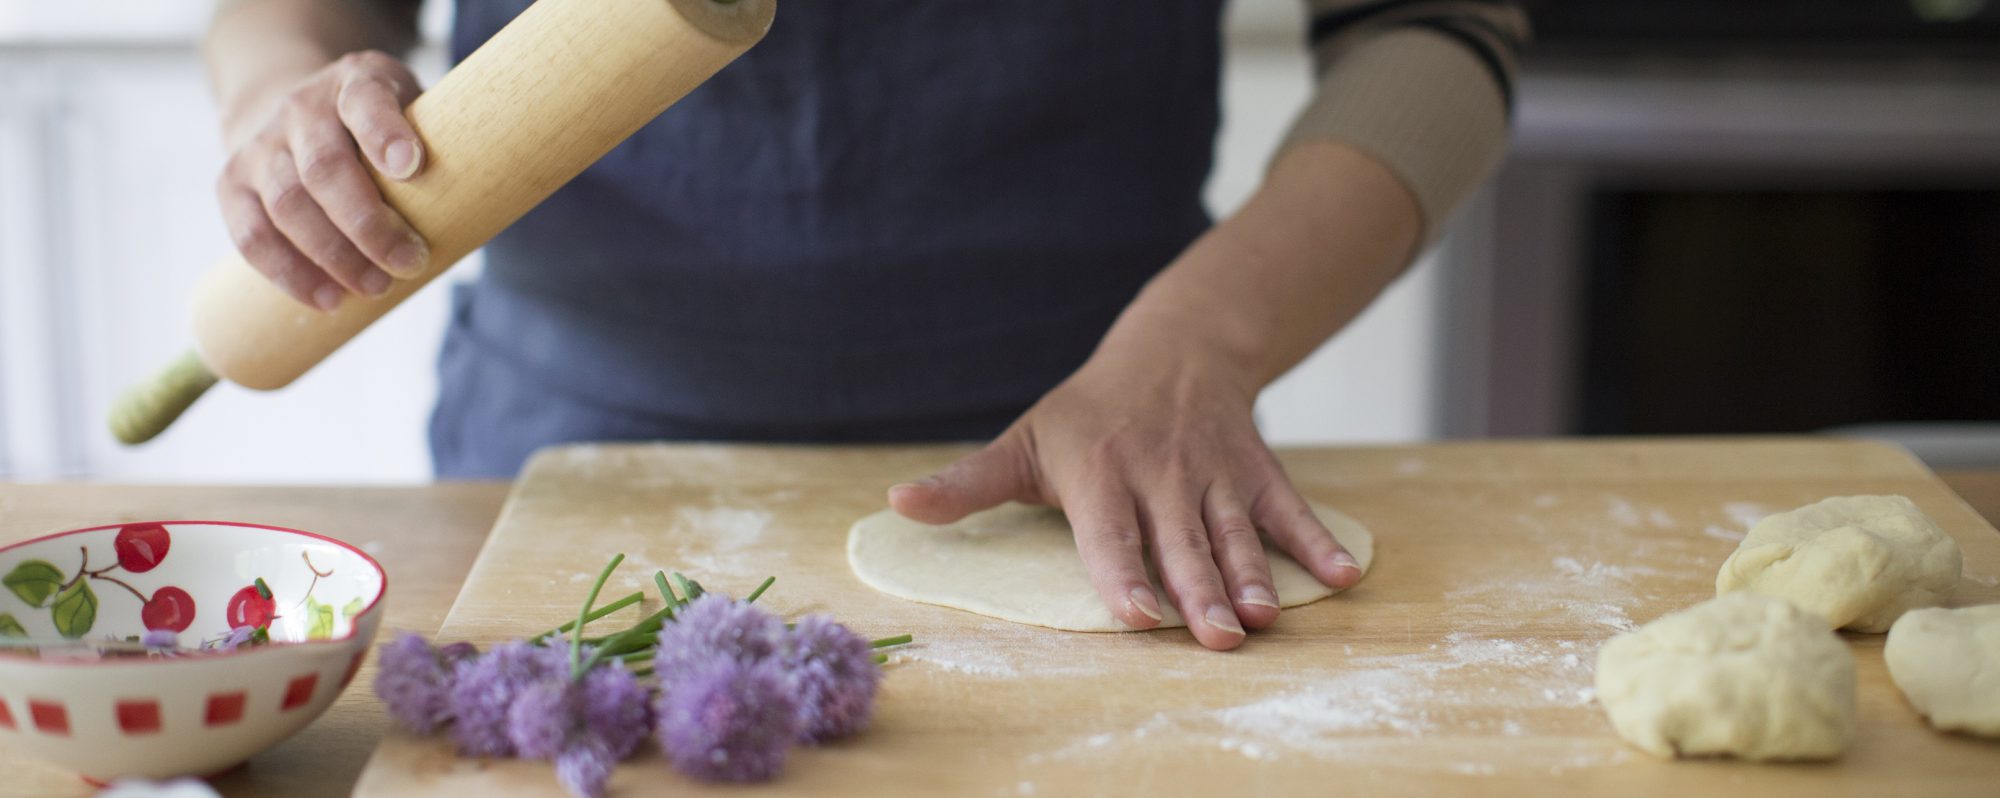
As for equipment, I took out my stainless steel pot, a couple of wooden spoons, my recently-purchased cheesecloth (you can use a thin cotton non-terry dish towel or handkerchief), and I was ready to start tofu-making.
True to “no fancy equipment” form, I decided to convert an old plastic tofu container into a makeshift tofu press.I turned it upside down and started cutting into the nicks that were already molded into the plastic, making sure the slits were big enough to allow liquid to drain through. Clever, eh?

Just so you know, we food writers and recipe developers are not perfect, and we do make mistakes. The first time round, I used 4 cups of soymilk and 2 tablespoons of fresh lemon juice diluted in ½ cup water as a coagulant. The first sign that something was amiss was that with every wring of the cheesecloth, still milky-white liquid oozed from the tiny holes. The liquid is supposed to be translucent. But I went ahead and pressed the curds into my “tofu press” anyway.
After my myriad tries to press out as much liquid as possible, my tofu was still soft and spongy.
I took a bite. It tasted like tofu, the texture wasn’t bad, plush and soft, kinda like marshmallow. But it refused to bind despite my best efforts so I had to raise the white flag. I decided I could use it in mabo tofu or to make tofu and minced pork balls.
Maybe I needed more lemon juice? Or maybe I should have continued stirring the mixture over the heat until it started separating more noticeably. Or … Whatever it was, I was determined to try again.
Then I recalled my paneer-making efforts. Perhaps I could follow the same method–the process is basically the same, separating the curds from the whey with a coagulant.
I followed the method almost to a “t,” using juice from 3 1/2 limes (about the equivalent in tablespoons), and lo and behold, I had firm, freshly-pressed tofu! I was overcome with so much jubilation—my first successful batch of tofu—I almost started tearing.
This time I pressed my tofu in a colander which formed an oddly-shaped disc of tofu. Nonetheless, I was excited to try a piece. Perhaps I should have waited and relished the tofu high a little longer. Once I popped a piece in my mouth, my elation crumbled like the disintegrating tofu in my mouth. I didn’t care for the powdery texture and the tartness that clung to the background like a wallflower, barely noticeable but still there.

Not satisfied with my tofu-making efforts, I tried yet again, this time with Epsom salt as my coagulant. And as they say, the third time’s a charm!
The curds that formed were still smaller than I was expecting and I was skeptical. Somehow or another, the itty bitty curds bound into a perfect block of momen tofu (“momen” means “cotton” and describes a medium firm tofu). Unlike store-bought tofu which can sometimes taste bland, this tofu tasted mildly sweet, and not too beany. The texture was dense and looked crumbly but once in my mouth, it was cottony soft, just like its moniker.
Woot, my tofu was finally a total success!
I’m not sure if I’ll be making tofu regularly but I did come away from the experience with a few tofu tidbits. Overall, I wouldn’t recommend lemon or lime juice because they impart a tangy flavor that was a little odd in the resulting tofu. I think I’m going to try using nigari next to see if bigger tofu curds form, hopefully producing a smoother, less crumbly tofu.
And finally, for first-timers, buy Epsom salt. If you decide you don’t ever want to make tofu again, you can use the remainder for a relaxing soak in the bath after a busy day of standing in the kitchen!
~~~
Homemade Momen Tofu

I’ve tried making tofu several times now and the process never goes exactly the same. I’m always surprised–the resulting tofu may turn out a little firmer or a wee bit spongier. I really can’t tell you why but that’s ok since it always tastes good. I just mix it up, using the tofu in different recipes. Keep in mind, the quality of your soymilk plays a huge part in how your tofu will turn out. In other words, keep experimenting until you’re satisfied!
Time: 45 minutes to 1 hour
Makes: about 14 oz tofu
2 teaspoons Epsom salt
4 cups soymilk (storebought or homemade)
Stir the Epsom salt into ½ cup hot water until it completely dissolves.
In a large pot, bring the soymilk to a gentle boil over medium-high heat. When steam starts to appear and bubbles form around the edge of the pot, reduce the heat to medium. Simmer for about 3 minutes, stirring often to ensure the soymilk doesn’t burn. Remove any film that forms on the surface.
Reduce the heat to low. Pour the Epsom salt mixture into the hot soymilk a little at a time, stirring after each pour. The curds will soon start separating from the whey. As soon as obvious curds have formed and the whey turns from a milky white to a yellowish, translucent liquid, stop pouring. You want to use as little coagulant as possible because it might impart a bitter taste to the tofu. I usually use up about ¼ to 1/3 cup of the Epsom salts mixture.
Take the pot off the heat and cover with a lid. Let it sit for about 15 minutes to allow the curds to separate even further. After 15 minutes, if the whey is still opaque, add more of the Epsom salts mixture, stirring after each pour. Don’t worry if the curds are no bigger than coarse breadcrumbs.

Set your “tofu press” over a colander in the sink. Line the press with the cheesecloth.
Pour the curds and whey into the “tofu press” in stages, waiting for the whey to drain into the sink. Wring as much liquid from the cheesecloth as possible.

Press the curds into the “tofu press,” filling out the corners. Or press into the bottom of a colander or sieve. Fold the cheesecloth neatly and place a folded towel on top to soak up excess liquid. Weigh down the tofu with two cans of food.

Allow the tofu to set for 15 to 20 minutes. Unwrap the cheesecloth and turn the tofu block out into a large bowl or plastic container. Fill with water, being careful not to hit the tofu directly with the stream of water, and rinse the tofu gently. Drain and the tofu is ready to be made into dinner.
To store, submerge the tofu in water in the refrigerator for 2 to 3 days, changing the water every day. Remember, this is fresh tofu and has no preservatives!
~~~
Resources I used to come up with my own tofu-making process:
Just Hungry: The blogosphere’s definitive site for Japanese food and cuisine
Brenda J Wiley: A detailed description of how to make tofu using a soymilk machine
LaFujiMama: Check out her easy-to-follow processes for making soymilk from scratch and quick one-hour tofu
Related articles
- Homemade Tofu (burntlumpia.typepad.com)
- How To Make Your Tofu And Eat It, Too (npr.org)
- Tofu to sink your teeth into (ask.metafilter.com)

Here is my tofu-making recipe for 500g of high quality tofu, plus 1kg ocara.
Ingredients: 600g / 4 cups soy beans, 1tsp nigari dissolved in 1/3 cup water, water.
Equipment: blender, saucepan, 2 large bowls, colander, cooking thermometer, cheesecloth
Method: 1. soak beans overnight or longer. Change the soaking water daily.
2. blend beans, ratio 4:1 by volume beans to water.
3. in batches, boil water then add blended beans, ratio 2:1 water to beans. Stir constantly and skim off all froth while simmering 10 -15 minutes. Discard froth and bean husks.
4. place colander over large bowl, and pour the mix into colander. It separates into ocara (beans) and soymilk (liquid). Ocara used for bread, muffins, cakes, pancakes, patties, etc. or use it for a complete organic fertiliser, 3 parts to 1 part each dolomite lime and kelp. Press as much liquid out as possible. To get even more liquid out, boil the ocara in water in the microwave for 10 minutes, as a second pass. Restrain and add soy milk to other milk.
5. *heat soymilk in clean saucepan to between 65 and 75 deg Celsius. Add 3 tsp of the dissolved nigari, stirring gently. Curds will form best over 70 deg. Let sit at this heat for 15 minutes, until liquid is clear and curds form one mass.
6. place wet cheesecloth over clean colander. Pour curds in and let drain for 10-15 minutes before squeezing liquid out.
7. scoop curds into a large tofu press, or several small ones like TofuXPress. Press over an hour or two.
* N.B. When pouring soy milk into saucepan, there will be some small bean fragments. If you don’t want these in the final tofu block, add it to the other ocara.
Tips:
– don’t use edible gypsum (calcium sulfate), citrate (or other citrus-based acids), as the quality, texture, and taste is far inferior to nigari
– use a thermometer to get the right temperature for making curds
– make the time-energy input worthwhile by doing large batches, and prioritising the coagulation by getting as much soymilk from the soybeans as you can.
– always cook the ocara well before eating, e.g. boil 2 cups then simmer at least 30 minutes
MADE TOFU Years ago it was great, my wooden homemade mold didn’t last long.
I love tofu, and have noticed that the tofu in my grocery store is usually very bland – and expensive! I can’t wait to try this – besides, it looks like a fun project (now that you’ve worked out the kinks for us!) and I love the idea I won’t need any extra equipment. I do usually have Epsom salt in my bathroom. Thanks for posting this – I’m absolutely enamored with the idea of homemade tofu now!
So glad I stopped by today and saw this.
Hi Frugal Hausfrau,
Let me know how your tofu-making adventures go. Have I told you how much I love your moniker? Cheers, Pat